
In this post, I’ll show you how to make your own holiday cards. I like to save money. All the time. You too? I thought so. Especially during the holidays. One of the first things I decided to do when I had my own kids was to make my own DIY holiday cards. I will absolutely not pay for this when I know how easy it is. So, I wanted to share with anyone else that might also be on a tight budget for Christmas. I’ve written in user-friendly language with step by step visuals so you can even send this DIY holiday cards post to your mom so she can quit with the awful comic-sans-on-premade-holiday-letterhead-printer-paper holiday card (and yes, moms everywhere, it’s time to stop doing that).
First, a word of caution: If you don’t have Powerpoint or it looks different, I’m sorry. This tutorial may not be for you. Please do not come at me with your frustrations as I’m only trying to be helpful here and am not a computer wizard.
Step 1 DIY holiday cards: Get your photos!
Plan your photo shoot. Figure out what everyone will wear ahead of time so you have time to do the laundry and make sure everything fits (for children and adults, because we all know how weight can shift with time). Wait for an overcast day. Not sunny, overcast. You’ll want to avoid sun so it’s not shining in anyone’s eyes or creating shadows. I use my iPhone camera. I highly recommend purchasing a tripod in the event that you don’t have a best friend to take your photos for you. You can get a bluetooth remote so you don’t have to set the timer on your camera. Make sure the battery is charged for your phone and the remote. Test both out before you head out for your photo session. Trust me. Spend the time figuring this out before you’re standing outside and your family is low on patience. Take tons of photos. Take photos up close, at different angles, some of each person alone, some in pairs, lots with everyone together. This way, you have options. Anyway…..after you get a ton of photos, you’ll be all ready for making the cards. Let’s begin.
Step 2 DIY holiday cards: Make your cards!
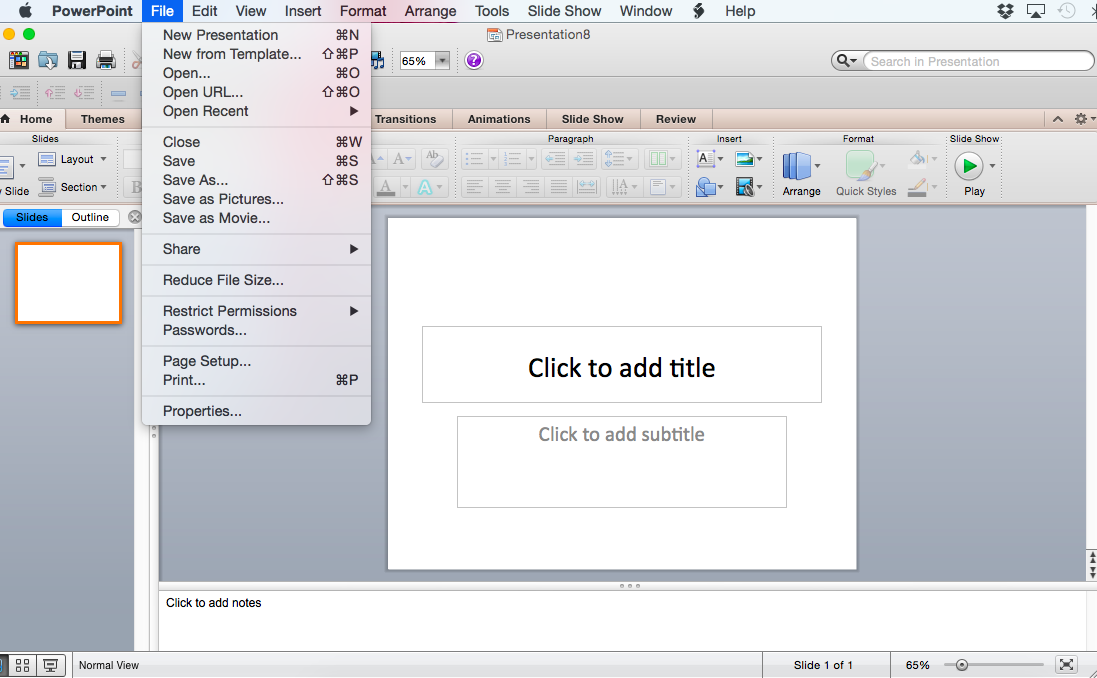
Open Powerpoint and go to File—>New Presentation
Go to File—>Page Setup
Change the page to the size you’ll be printing your photos (you’ll need to decide whether they’ll be 4×6 or 6×4 (landscape or portrait).

Select and delete these default text boxes.
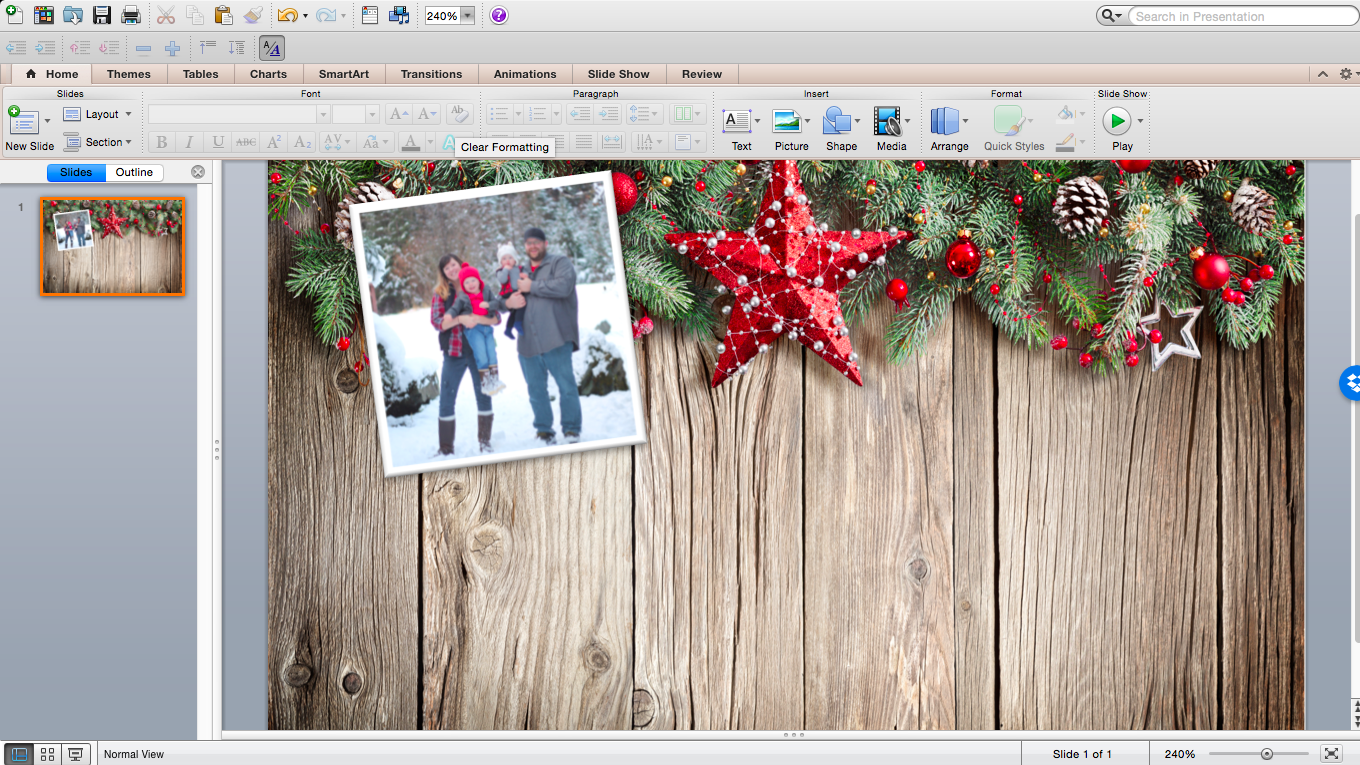
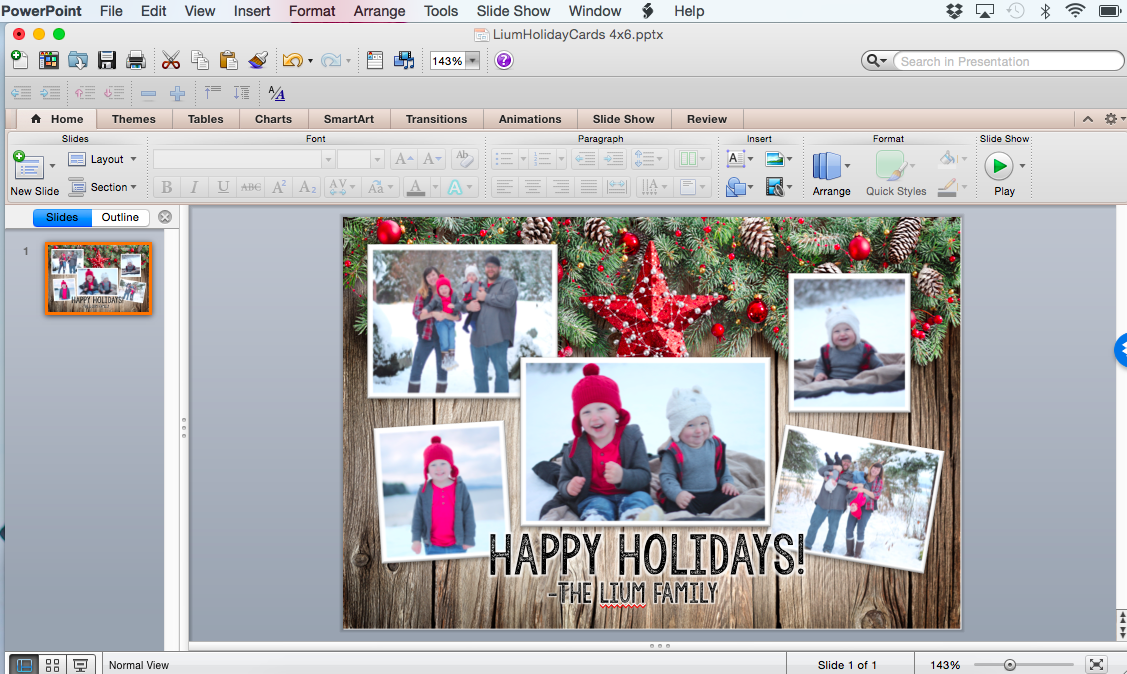
Drag and drop (or Insert—>Picture) your background and photos. I pay for an annual subscription to stock photos, so that’s where I found the background I used. If you don’t subscribe to a stock photo club for commercial purposes like I do, you can probably find a free holiday background with a quick Google search.
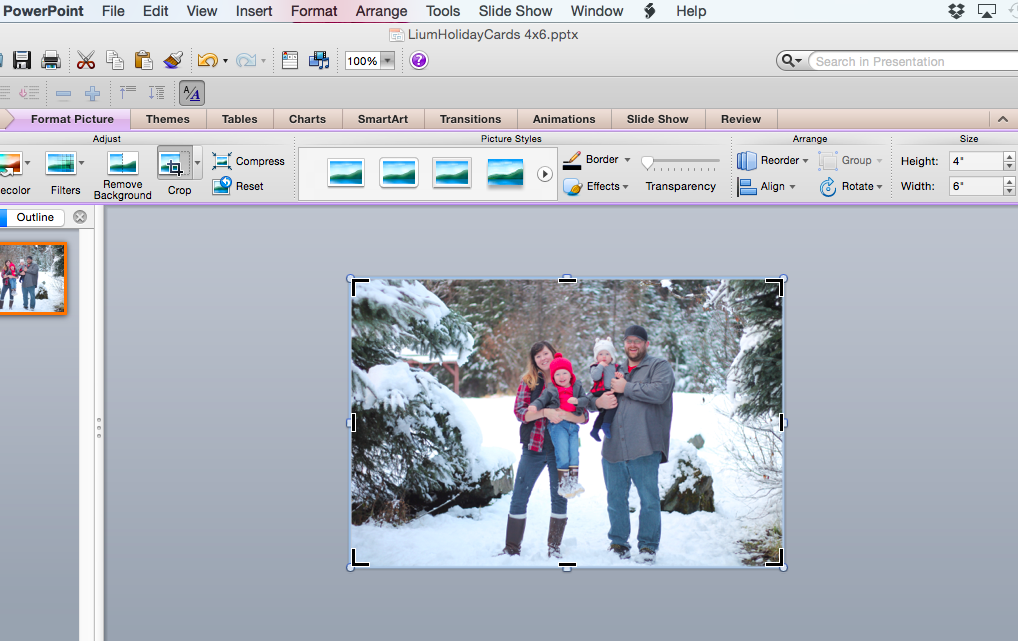
If you want to crop them, look for the square “Crop” button (you have to click the photo first) and crop the photo as you see fit by dragging the corners inward and clicking “Crop” again.
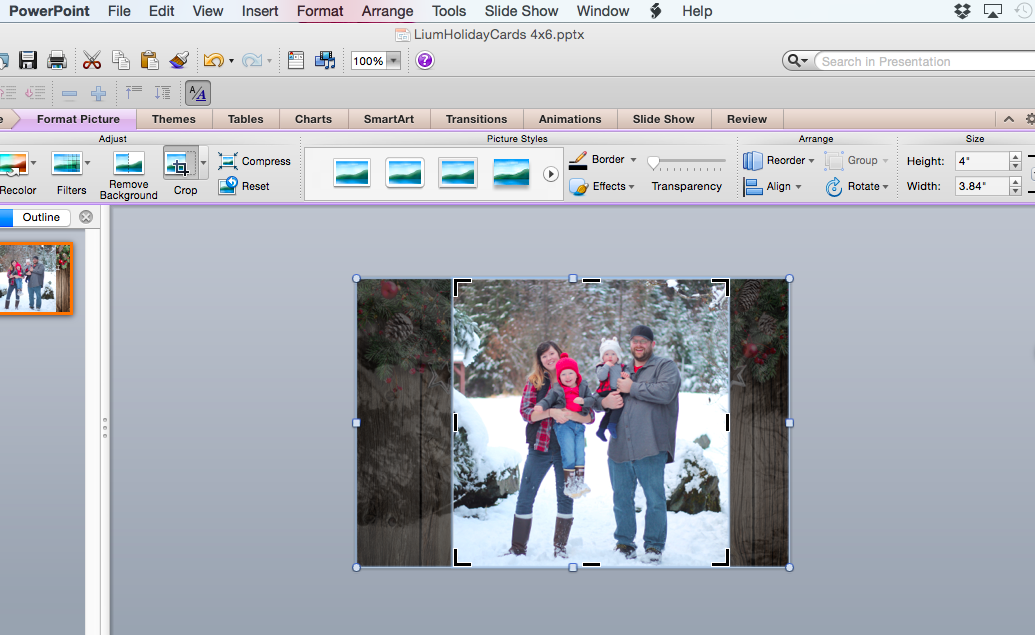
Now that you’ve cropped your photos, you might want to add a border so they “pop” out a bit more. When you click on the photo, you’ll see some formatting options above. I used the “Simple Frame, White” option. However, I didn’t like how thick the border was, so I needed to change the border size.

Go to Format—>Picture.

In the “Line” options, go to the Weights & Arrows tab and change as you see fit (I changed mine from a “7” to a “4”).

Drag and rotate to where you’d like. Have fun playing around!
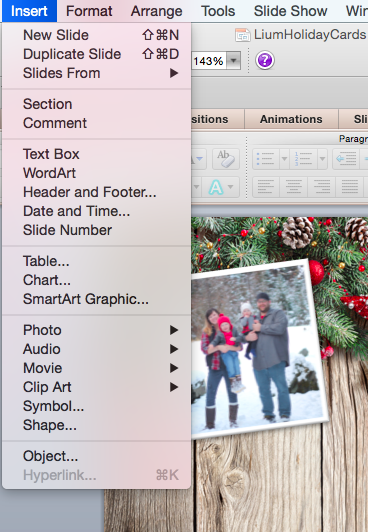
Now for the words! Go to Insert—>Text Box.
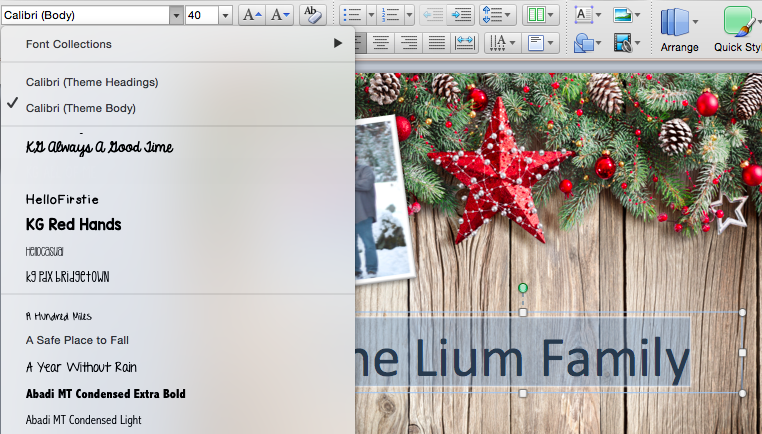
Type what you want and if you want to change your font, select your font and then use the dropdown font menu in the upper left.
See how my font doesn’t stand out very well against that wood background?

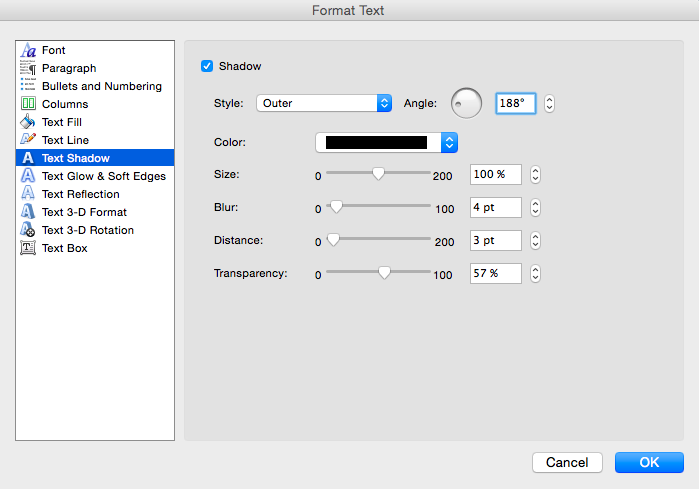
Go to Format—>Font.

In the “Text Glow & Soft Edges” option, I change the color to white and play with the size and transparency until I think it looks okay.

I also like to add a “Text Shadow” to make it stand away from the background.
See how a few formatting changes to font can really make a difference?

Add some more photos or text…
When you’ve finished your card, you’ll need to save it as an image. Go to File—>Save as Pictures.

When you save it, make sure you are saving it as a TIFF file (you’ll change it later, but this is for anyone that wants better clarity—raise your hand teacherpreneurs!).
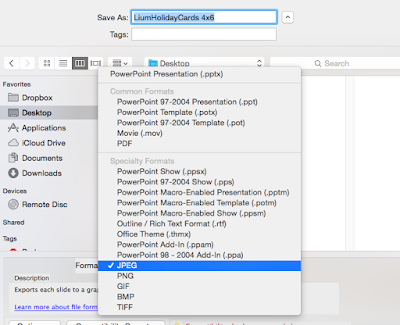
Open that file up after you’ve saved it. Go to File—>Export.

Change the format from TIFF to JPEG.

Slide the Quality bar all the way to Best.

Ta-da! A high-quality holiday card you can be proud of!!! Upload to your favorite photo print place and order just like you would your regular photo prints to save BIG on this year’s holiday cards. I hope you’ve enjoyed this tutorial! Happy holidays!!!


I love this! I created mine the other day but couldn't use bc it kept saying it wasn't sharp/ or clarity. I ordered mine after 3 hours of trying! This is great for next time! What did you open it to Change to JPEG? Thanks again!
This is a fabulous idea! I was just ordering ours from Costco this afternoon and lamenting about the cost and just so-so designs. So smart to use the free prints deal! Thank you. 🙂
I love this tutorial! I also just ordered from Costco but I never thought of using my knowledge of Power Point for holiday cards! I'll keep this in mind for other things like invitations or announcements too! Thanks!
Wonderful tutorial! I've done this several times, and it always works out great. But thank you for putting this down so I can share the link with others when they ask me what I did. 🙂 I WILL be sharing!!
~Heather aka HoJo~
What a great tutorial! Thanks for sharing, Jen! I especially love the tidbit about saving as a TIFF first to preserve quality – since switching to Mac I have been struggling with fuzzy JPEG slide pictures – no more! You are truly a lifesaver 🙂
~Jessica
Joy in the Journey
love this tutorial for creating cards in other languages. Costco has French and English templates but I couldn’t edit some of the fixed texts to Polish. This is a great work around. Thanks